


While professional groomers are invaluable, incorporating DIY dog grooming into your routine offers several benefits:
- Cost-Effective: Regular grooming appointments can add up. Doing it yourself saves you money.
- Convenience: Groom your dog on your schedule, without the hassle of appointments and travel.
- Bonding: Grooming can be a wonderful way to strengthen your relationship with your dog.
- Early Detection: You’ll be more likely to notice any lumps, bumps, or skin issues early on.
- Reduced Stress: Some dogs are anxious at the groomer. Home grooming can be a more relaxed experience.
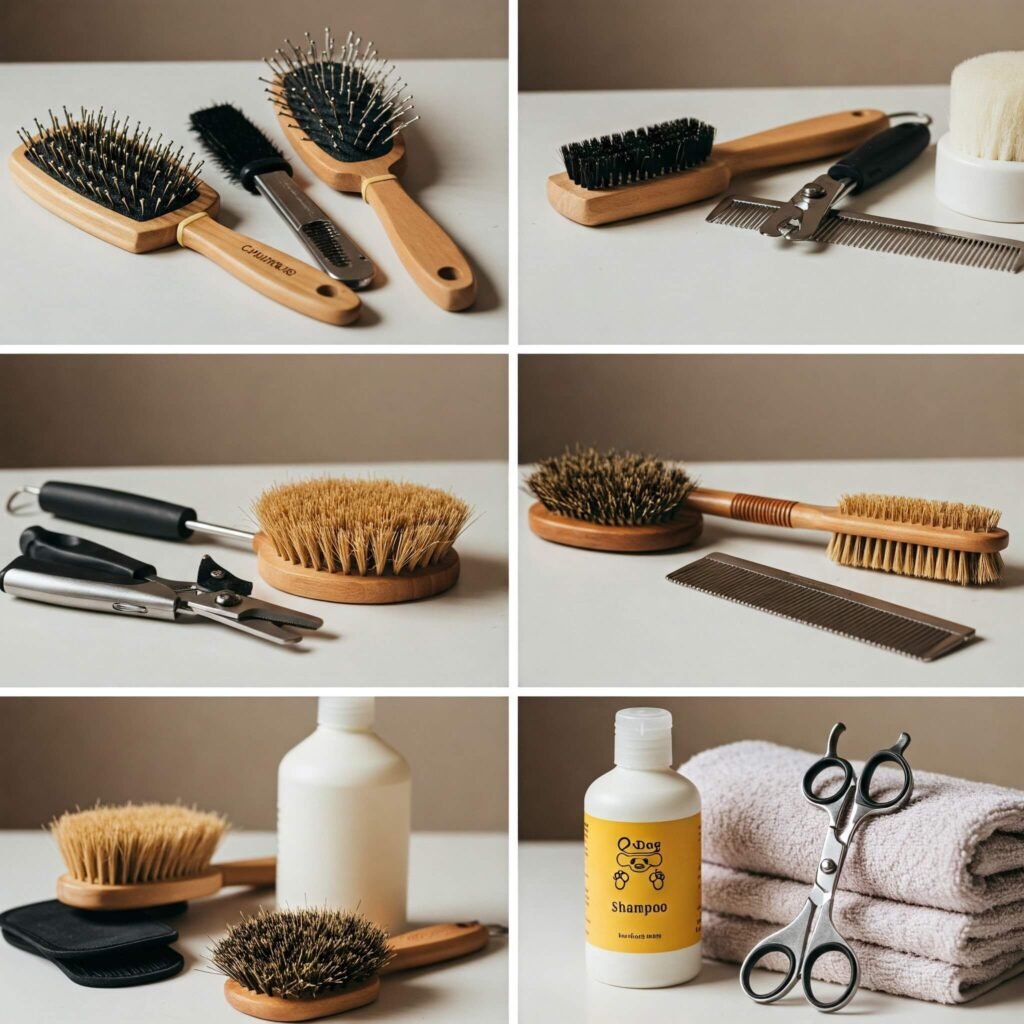
Essential Tools for Your DIY Dog Grooming Spa
Before you begin your DIY dog grooming session, gather the necessary tools:
- Brushes: Different coat types require different brushes. Consider a slicker brush for removing mats, a pin brush for general brushing, and a deshedding tool for heavy shedders.
- Shampoo: Use a dog-specific shampoo. Human shampoo can irritate their skin.
- Conditioner (Optional): Helps to detangle and moisturize the coat.
- Towels: Have several clean, absorbent towels ready.
- Nail Clippers: Choose guillotine or scissor-style clippers designed for dogs.
- Styptic Powder: In case of accidental nicks during nail trimming.
- Ear Cleaner: A veterinarian-approved solution for cleaning ears.
- Cotton Balls: For cleaning around the ears, never inside the ear canal.
- Grooming Table or Elevated Surface (Optional): Can make the process easier on your back.
- Treats: For positive reinforcement throughout the grooming session.
Step-by-Step Guide to Your DIY Dog Grooming Spa Day
Follow these steps for a successful DIY dog grooming experience:
Brushing: The Foundation of DIY Dog Grooming
Regular brushing is crucial for maintaining a healthy coat and preventing mats and tangles.
- Frequency: Aim to brush your dog several times a week, or daily for long-haired breeds.
- Technique: Start at the head and work your way down to the tail, brushing in the direction of hair growth.
- Mat Removal: Gently work out any mats with your fingers or a detangling spray before using a brush. For stubborn mats, consider specialized dematting tools or consult a professional groomer.
Bathing: Keeping Your Dog Fresh and Clean with DIY Dog Grooming
Bathing helps remove dirt, debris, and odors.
- Frequency: Most dogs only need bathing every 1-3 months, unless they get particularly dirty. Over-bathing can dry out their skin.
- Preparation: Wet your dog thoroughly with lukewarm water.
- Shampooing: Apply a small amount of dog-specific shampoo and lather gently, avoiding the eyes and inner ears.
- Rinsing: Rinse thoroughly until all shampoo is removed.
- Conditioning (Optional): Apply conditioner and rinse after a few minutes.
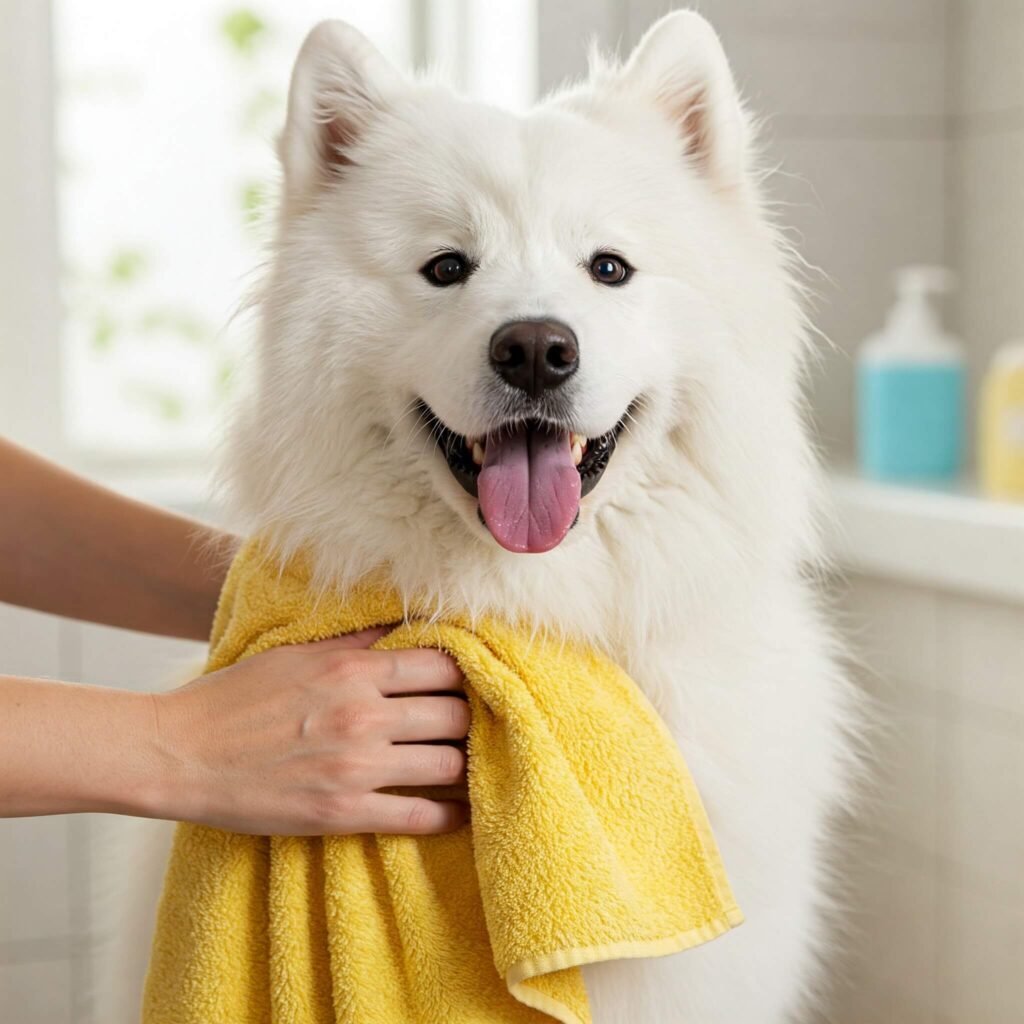
Drying: An Important Part of DIY Dog Grooming
Proper drying prevents chills and skin issues.
- Towel Drying: Use absorbent towels to remove as much water as possible.
- Blow Drying (Optional): If your dog tolerates it, use a low-heat, pet-specific blow dryer, keeping it at a safe distance. Ensure their coat is completely dry.
Nail Trimming: A Key Aspect of DIY Dog Grooming for Paw Health
Regular nail trimming prevents overgrowth, which can be painful and lead to walking difficulties.
- Frequency: Usually every 2-4 weeks, depending on your dog’s activity level.
- Identifying the Quick: The “quick” is the pink part of the nail that contains blood vessels and nerves. Avoid cutting into it. For dogs with dark nails, trim small amounts at a time until you see a chalky white or gray center.
- Trimming Technique: Hold your dog’s paw firmly and clip the tip of each nail. If you accidentally cut the quick, apply styptic powder to stop the bleeding. If you’re unsure, consult your vet or a professional groomer for guidance.
Ear Cleaning: Maintaining Hygiene in Your DIY Dog Grooming Routine
Regular ear cleaning helps prevent infections.
- Frequency: Check your dog’s ears weekly and clean as needed.
- Cleaning Technique: Apply a few drops of veterinarian-approved ear cleaner to a cotton ball (never directly into the ear canal). Gently wipe the visible part of the ear and the folds. Never insert cotton swabs into the ear canal.
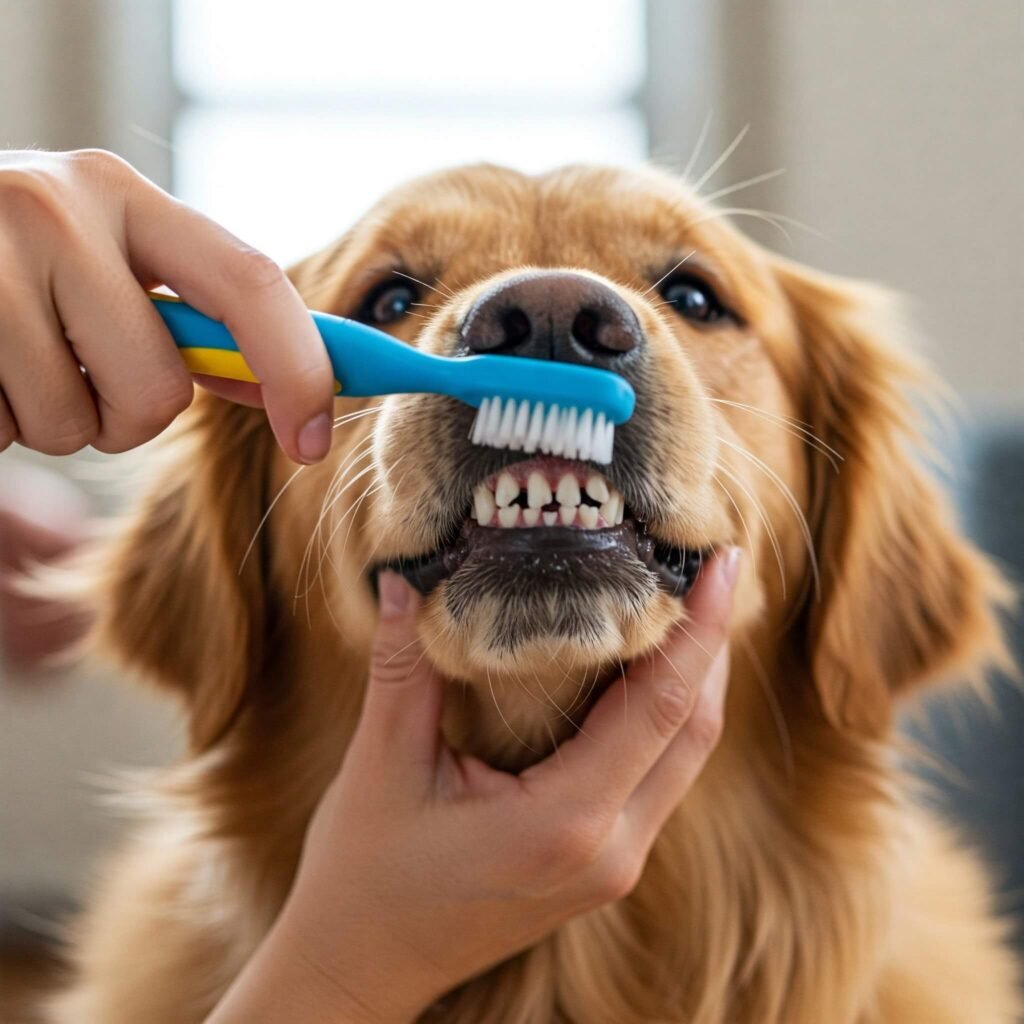
Teeth Brushing: An Often-Overlooked DIY Dog Grooming Essential
Dental health is crucial for your dog’s overall well-being.
- Frequency: Ideally, brush your dog’s teeth daily or at least a few times a week.
- Technique: Use a dog-specific toothbrush and toothpaste (never human toothpaste). Gently brush all surfaces of their teeth.
Making it a Relaxing DIY Dog Grooming Experience
- Positive Reinforcement: Use treats and praise throughout the process.
- Keep it Short: If your dog is new to grooming, start with short sessions and gradually increase the duration.
- Be Gentle: Handle your dog with care and avoid any sudden movements.
- Create a Calm Environment: Choose a quiet space where your dog feels comfortable.


